Image Color Replacer
Shades preserved · Zone selection · Built-in eyedropper · Multi-rules · 100% local, no upload
This tool replaces a color in an image while accounting for all its natural shades — shadows, highlights, gradients. A red rose is not a single color: its petals contain light pinks, deep reds, shadowed burgundy zones. The tool detects and processes all these shades in a single operation, for results that look professionally done.
Drop an image here or click to browse
JPEG · PNG · WebP · GIF · BMP · Local processing
Source image ← use the eyedropper or select a zone
Result
Replacement rules
Each rule replaces a source color with a target color. Tolerance controls how many nearby shades are included in the replacement.
Guide: getting perfect results with shades
Understanding tolerance
A color in a photo is never uniform. A red butterfly contains bright reds on light-exposed parts, dark reds in shadow zones, and orange-tinged reds on highlights. If tolerance is too low, only the exact shade you picked will be replaced — the rest of the wing stays red.
Tolerance tells the tool "how far a pixel's color can differ from the one I picked and still be replaced".
- 1–15: solid flat colors — logos, icons, uniform backgrounds
- 15–35: objects with slight variation (printed fabric, near-solid backgrounds)
- 35–60: natural photos with shadows and highlights (flowers, wings, clothing)
- 60–100: very wide variation (rarely needed, risk of affecting unintended areas)
Smart mode vs Normal mode
In Normal mode, every pixel matching the source color is replaced with exactly the chosen target color. Result: a flat, uniform replacement. Perfect for logos and solid fills.
In Smart mode, the tool calculates the shift between source and target color (e.g., red to blue = -120° on the color wheel). That shift is then applied to each pixel individually while preserving its own brightness and saturation. A dark red area becomes dark blue, a light red area becomes light blue — all shades transform consistently.
Tip: Smart mode + Preserve Luminance = most natural result on real photosZone selection
Useful when the object you want to recolor shares its color with other elements in the image. For example, a red rose on a red background: without zone selection, all the red in the image would be affected. Draw a rectangle around the rose only — replacement will be limited to that zone, even if the source color appears elsewhere.
To use zone selection: click "Select zone" below the source canvas, then drag to draw a rectangle (mouse or finger on mobile). The zone stays active until you click "Clear zone".
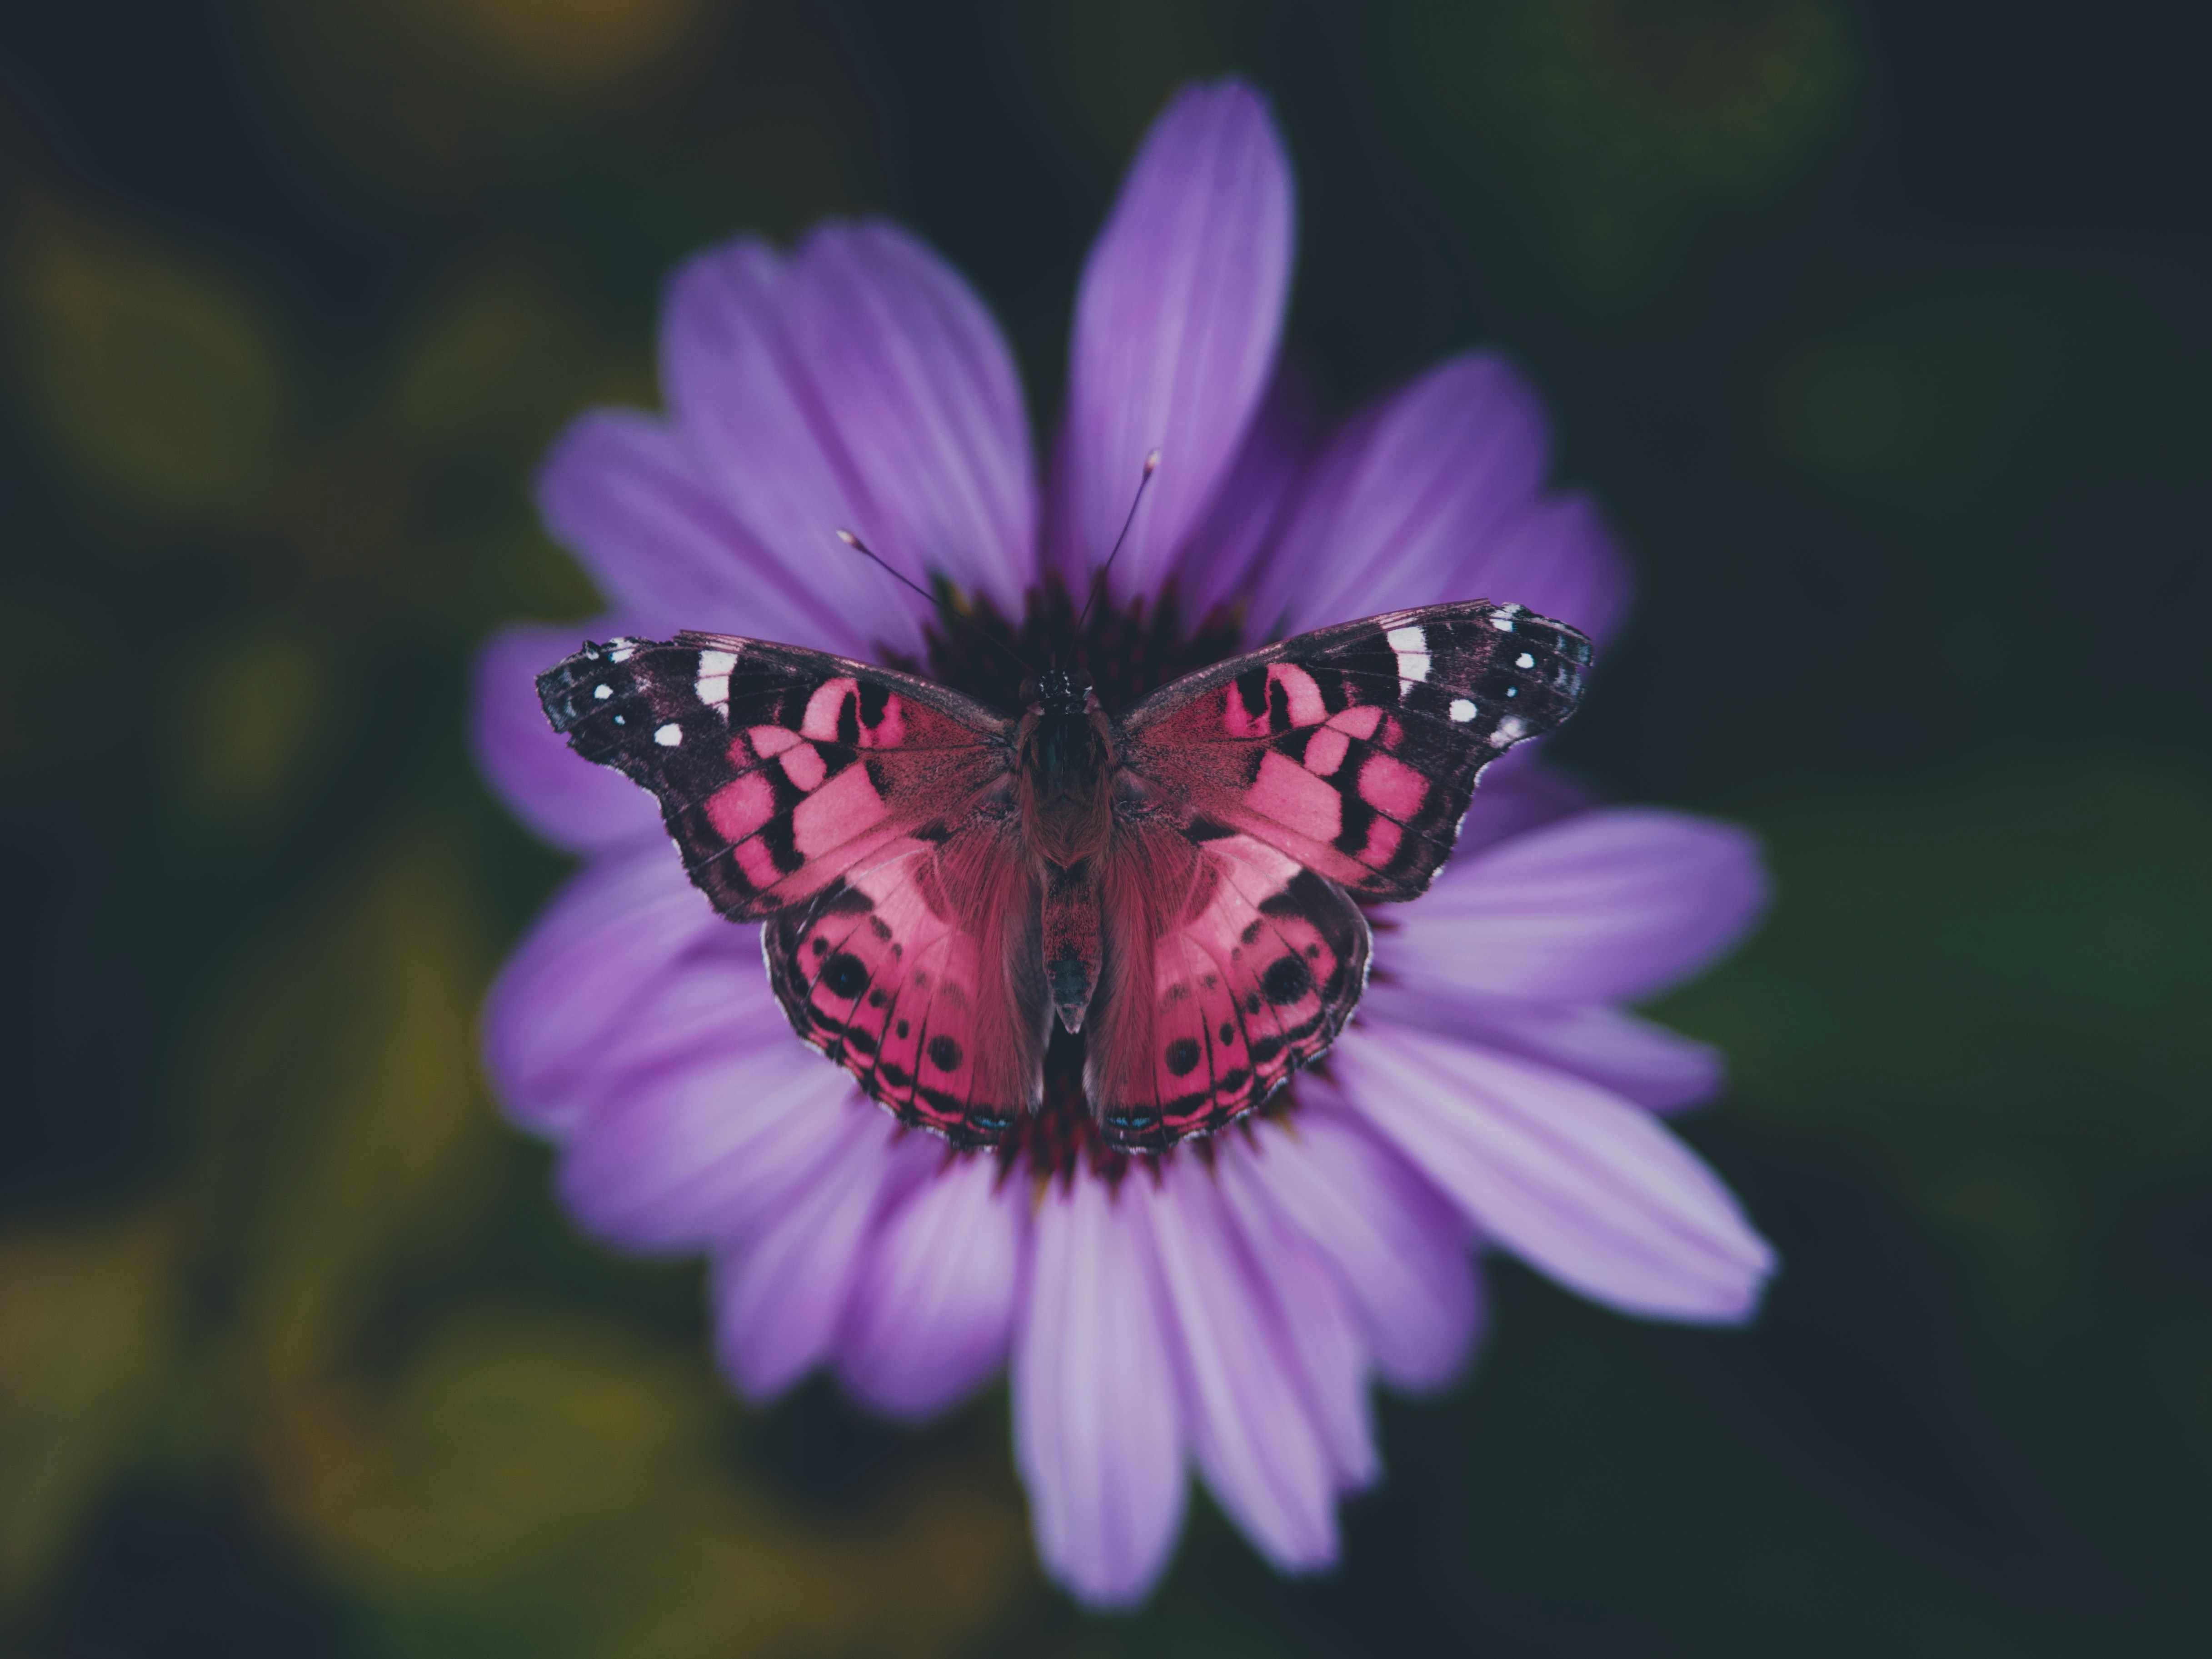
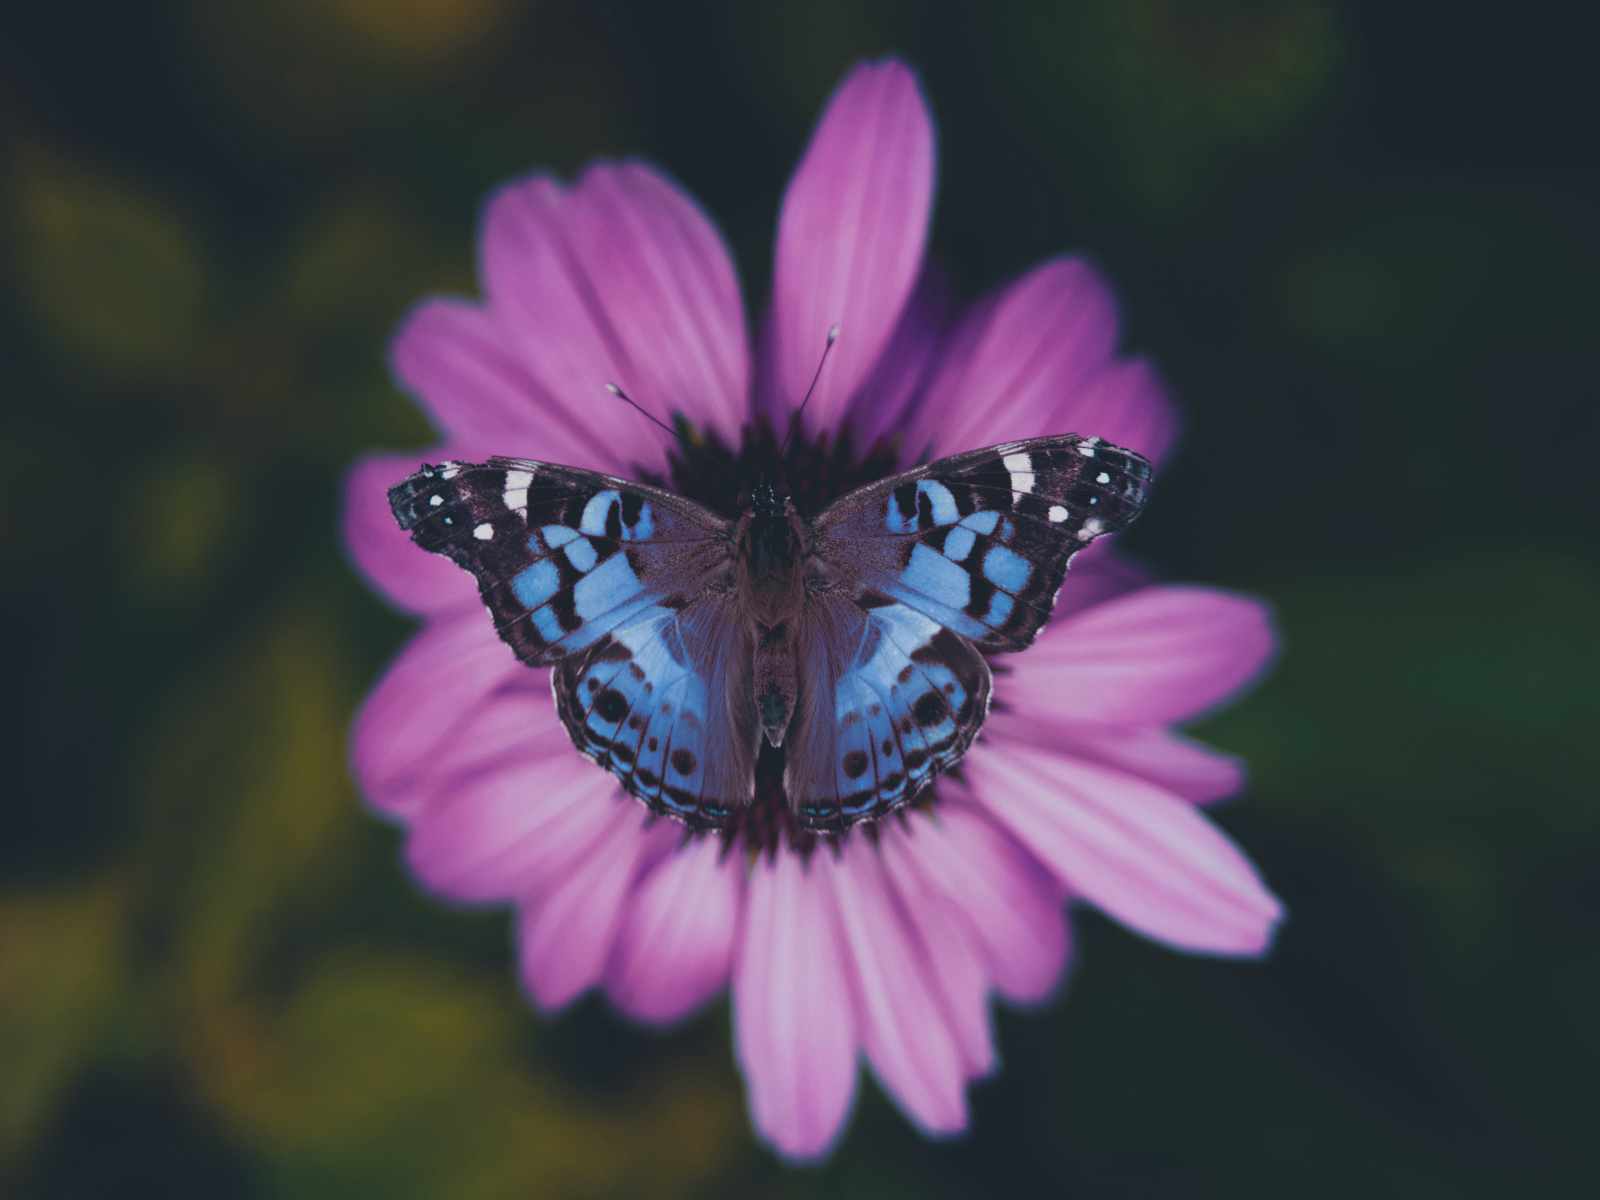
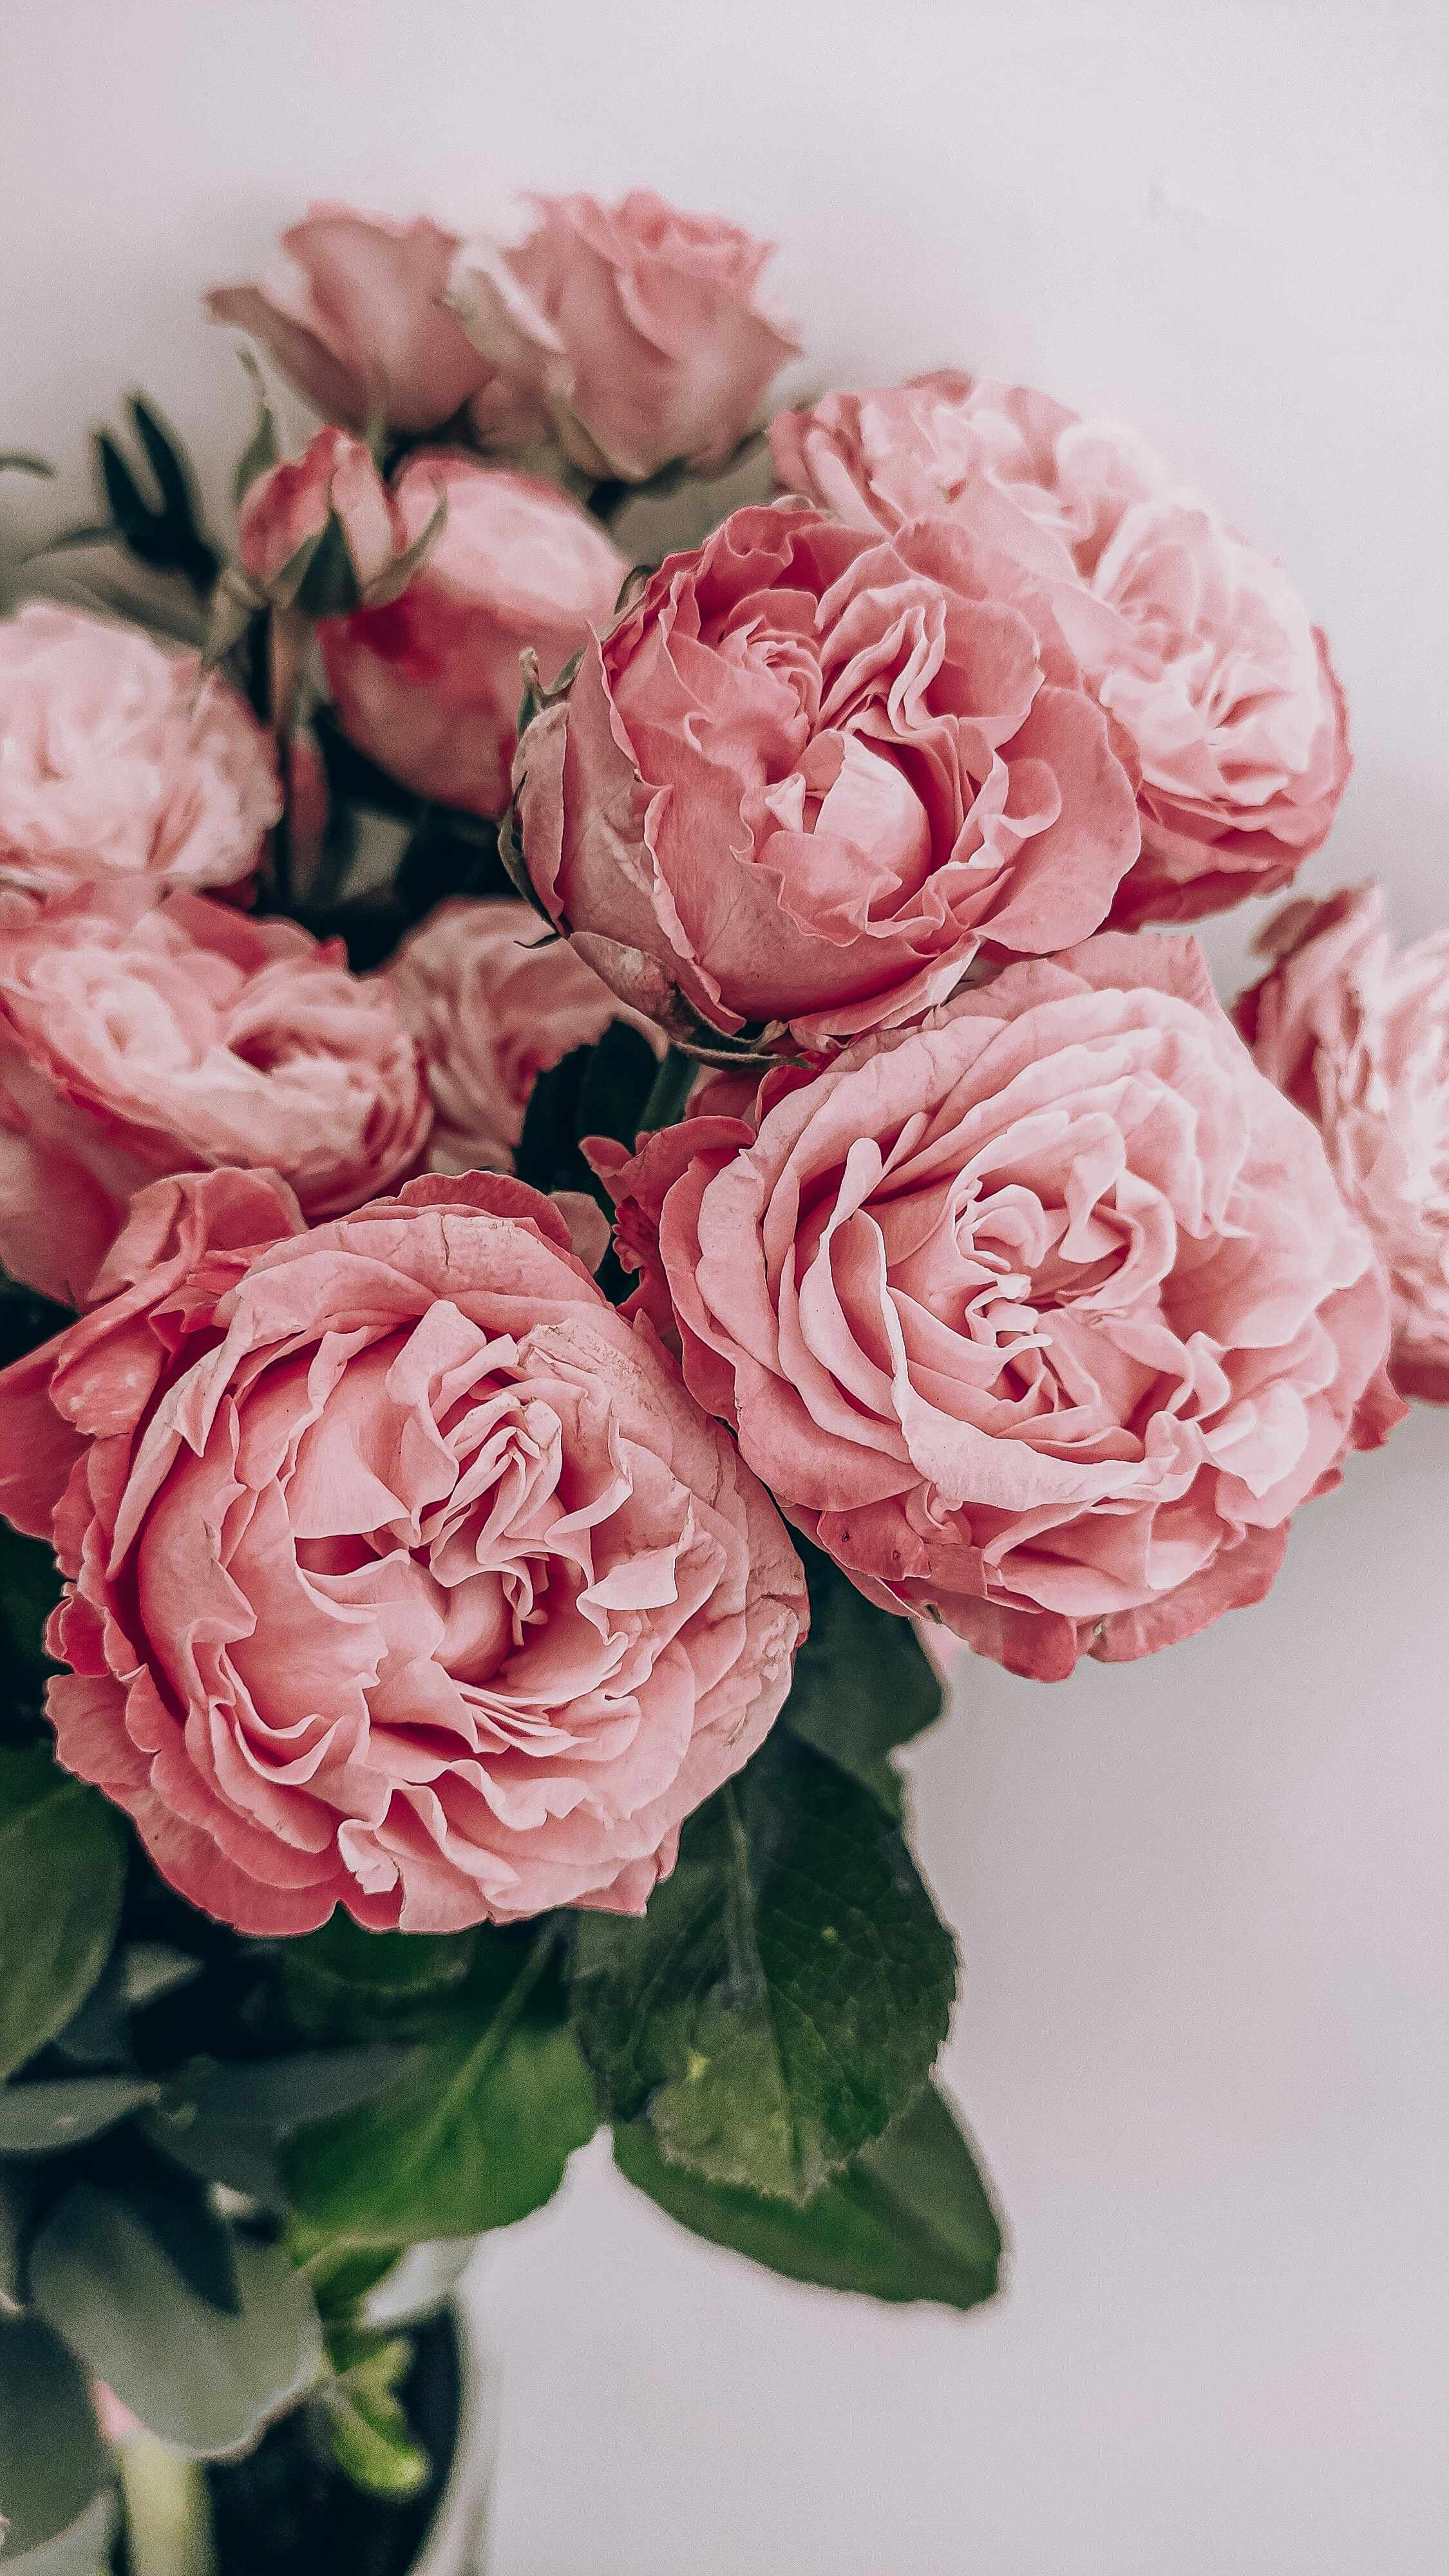
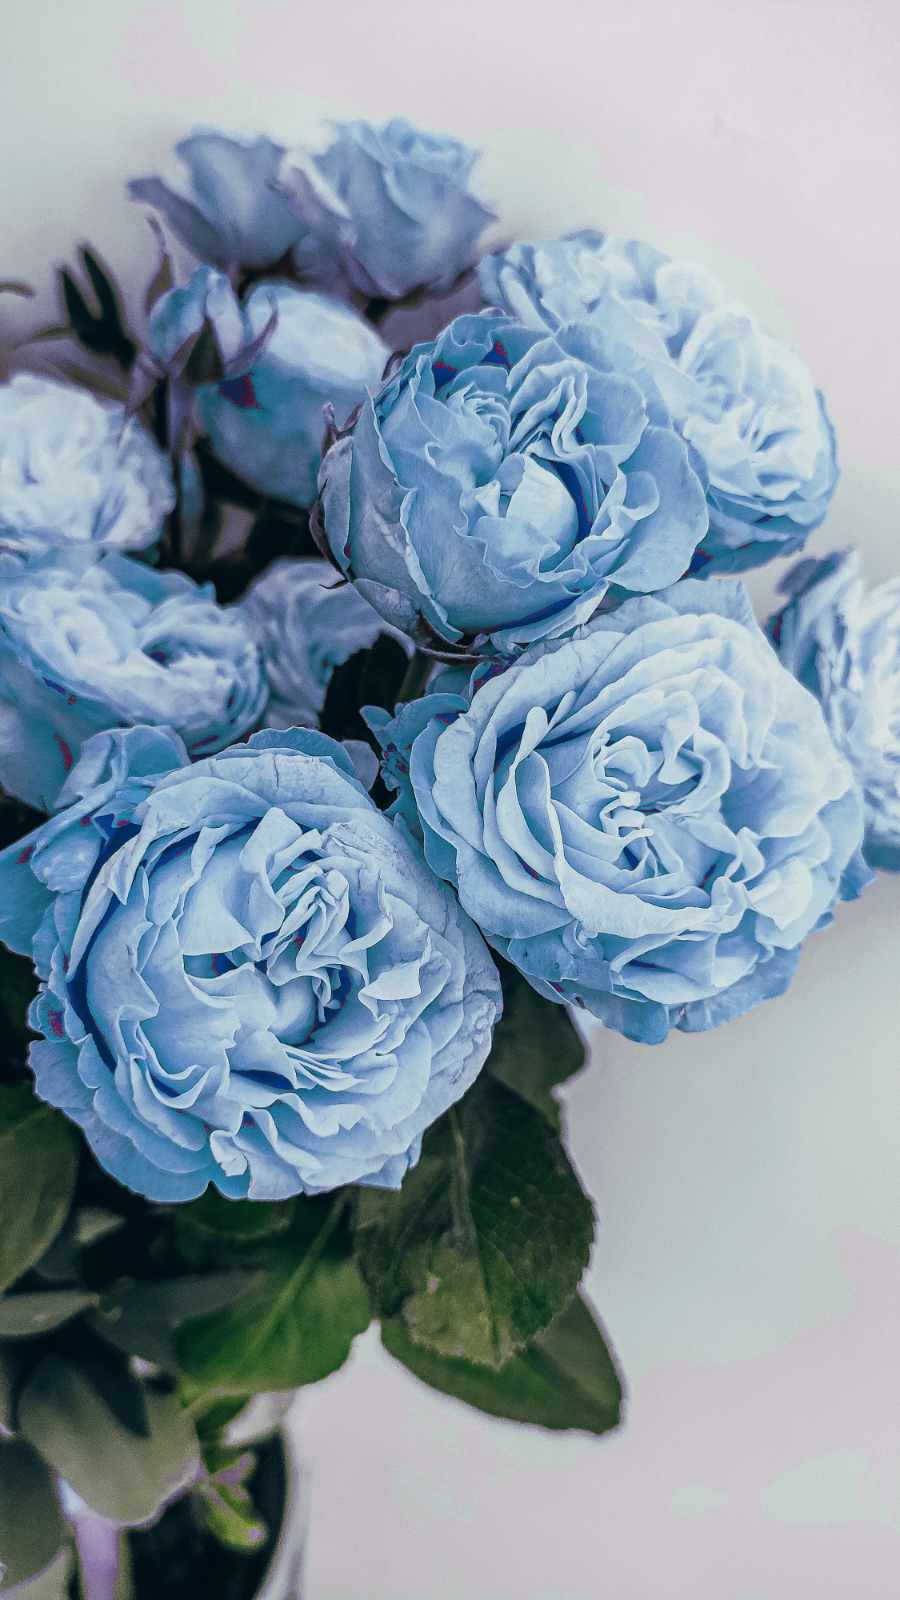
Features
- Built-in eyedropper (click on image)
- Up to 8 simultaneous rules
- Per-rule tolerance with shade indicator
- RGB, HSL, or Hue-only color space
- Smart mode (hue shift preserving shades)
- Adjustable edge smoothing
- Replacement opacity control
- Preserve original luminance
- Zone selection (rectangle)
- Side-by-side source / result preview
- Export PNG, JPEG, WebP
- 100% local — no data sent
- Works on mobile and desktop
Frequently asked questions
Why do some areas of the object not change color?
Those areas have a hue too far from the color you picked. Increase tolerance, or add a second rule by picking directly from the unchanged area. With HSL mode and a tolerance of 40–55, most natural photos are fully covered in a single rule.
The replacement color looks artificial — what should I do?
Enable Smart mode and check "Preserve Luminance". These two options combined maintain the brightness variations of the original image — shadows stay dark, highlights stay bright — only the hue changes. The result becomes natural even on complex photos.
What is the difference between HSL and Hue-only modes?
HSL compares hue, saturation, and lightness together — it is more precise and avoids bleeding into very different colors. Hue-only looks only at the hue, regardless of brightness: useful for heavily textured objects where very dark or very light pixels have HSL values that are hard to compare.
What resolution does the tool output?
Images are capped at 1600 px to maintain good browser performance. For web, social media, and standard printing, this resolution is more than sufficient. All processing is local.